Its time for this weeks 90 minute drawing challenge. This week its the 2005 film The Hitchhikers Guide to the Galaxy which runs for 1 hour 49 minutes.
So before I get into the results lets go over the rules:
- Choose a film
- Choose a character or theme for a pic
- You have from the opening scene to the closing credit of said movie to attempt to finish this picture related to said movie
- Sketches and layout is allowed but are included in the drawing time. The more you sketch, the less time you have to draw your final piece.
- Once the movie is finished (pencils or whatever medium you are using) down.
Just like in previous weeks I thought I'd go through the tools I'm using for this challenge
- Cutting Board. I use this to tape down my pages. As this board is designed to be cut on it really handles the pen and pencil pressure quite well. Making it so that it doesn't rip.
- Masking tape: Now what I noticed after this challenge is that I was using a very strong painters masking tape. I SHOULD be using artists masking tape which has less glue. It still does the job but its designed to be taken off the page A LOT easier. You can notice that I used a lot less tape than in the 500 days of Summer piece.
- Pencils
- Pens
- Circle and Elpsis' tools (these were used this time)
- Glasses


One new addition to the team was that in previous challenges I've been sitting on an old dining room table. Not the most comfortable seating arrangement. It dawned on me that I have a great computer chair in my comic book room so I swapped them over. MUCH more comfortable.

In this challenge I used Copic grey markers. I love using these markers but I'm out of practice. So on two pieces of tape I practiced with the markers so that I could tell which markers gave the best quality of linework. Its the same as putting the ink and pencils in order on my desk.
So Long and Thanks for all the fish

I took this photo to show the difference between the 4H line work and the ink work. The ink work here serves to give the illusion of Marvin being 3D. There are subtle line weight changes that help to do this.
He's got a towel!

I've been looking at Chris Samnee's sketch blog and I have noticed (like everyone else) that he does a lot with flat blacks in his images. I tried to something similar with Marvins right hand. I really enjoyed creating the illusion that the hand is both black but modular.
I should have said it resembles tea


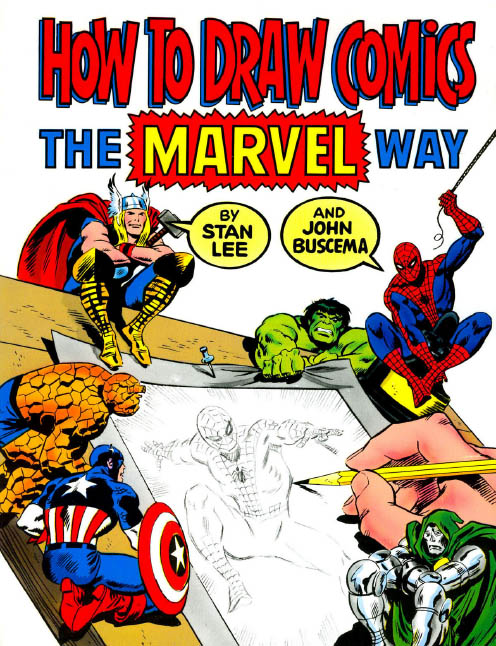
So I've essentially finished with Marvin, and its not even half way through the movie. So I decided to do a little one point perspective. Now the only problem with this is that I learned one point perspective from How to Draw Comics the Marvel Way and I've always been a little insecure about that. I could have just created a picture of a long hallway, but I wanted to create the illusion that the ship had aisles and corners.
What's happening? Who am I? Why am I here?

With the one point perspective done I still had 20 minutes left in the movie. My time mangement must be either getting better or the fact that I'm working with familiar materials cuts out the need to second guess myself.
Well I'm the President I don't have time for reading

I used this time to use the COPIC markers to lay in grey tones and try to create the illusion of 3D. Now this didn't work for me as Marvin has several different light sources. Its not too consistent, but I'm learning again how to do this so I'm fine with that.
How about 6 times 7?

I know this great restaurant at the end of the universe

Here is the final piece. I had WAAAAAYYYY too much fun doing this picture this week.
What I learned from this challenge:
- My Ink work is getting better. I look at the ink work from DIE HARD and it is tracing, there was no warmth to the linework. Its supposed to give the illusion of being 3D (yes I'm quoting Chasing Amy)
- One Point Perspective is awesome. I want to do more in the future.
No comments:
Post a Comment